Kite
Step-by-Step - The MBK Simple Diamond
Learn how to build a Diamond kite with these easy-to-follow instructions. Fully illustrated with photographs, every step of the way.
Don't worry about how long this page looks....
The steps are easy, hence this simple Diamond kite comes together very quickly!
Sometimes I go out with my young son to fly this kite. A classic picture of father and son, out flying a kite!
Like nearly every Diamond, it's very reliable and easy to handle in flight. Watch it wing-waggle and swoop occasionally, staying up as long as the wind blows.
The tail is simplicity itself - just a long slim rectangle of the same plastic you use for the sail. For more stability in fresher winds, it's easy to just add on a bit more length to the tail.
Making Dowel Kites is one of my e-books that's worth a look (or printing off) when you want to explore bigger and better kites. Using similar materials and construction methods - that is, just dowels, plastic and tape.
1. How To Build A Diamond Kite -
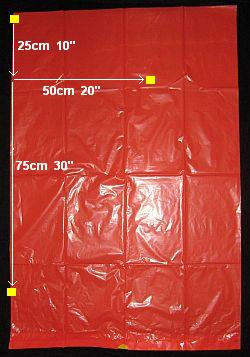
Measuring The Sail
2. How To Build A Diamond Kite -
Cutting The Sail
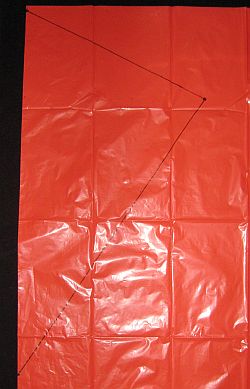
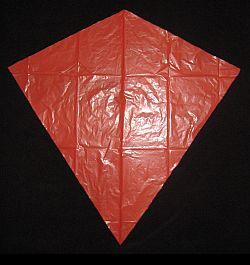
- Cut along the top and right side of the bag, and open it out to show the complete sail outline, as in the first photo.
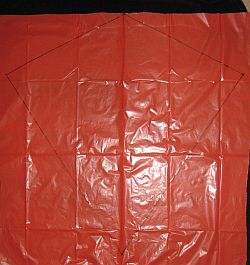
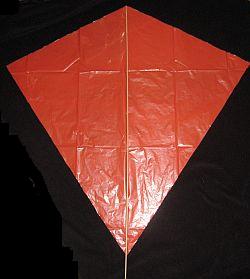
- Take your scissors and cut along all the black lines. As in the second photo, your Diamond kite sail is nearly complete!
3. How To Build A Diamond Kite -
Adding The Spars
- Lay a length of your 5mm (3/16") dowel down the center-line of the sail, line it up with the top sail corner and saw it off at the bottom corner. See the first photo, above, where the dowel has not yet been cut.
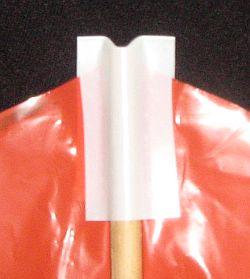
- Cut off a 5 cm (2 inch) length of insulation tape, and stick down the dowel to the plastic. See the second photo.
- Do the bottom end of the dowel the same way.
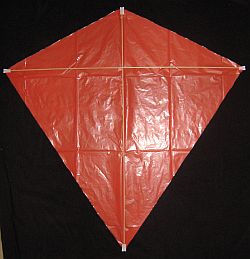
- Do the other dowel similarly, so the kite looks like the third photo.
Note: After flying this kite for several months, I decided to recommend you add another piece of tape to the top corner of the sail, at right-angles to the first tape. For added strength!
4. How To Build A Diamond Kite -
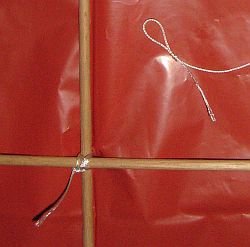
Attach The Flying Line
5. Rather Important!
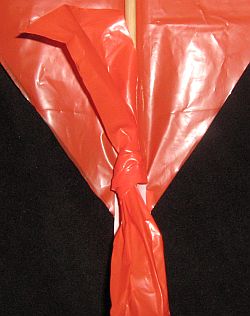
Attach The Tail
And Now - FLYING!
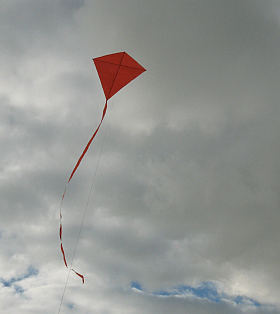
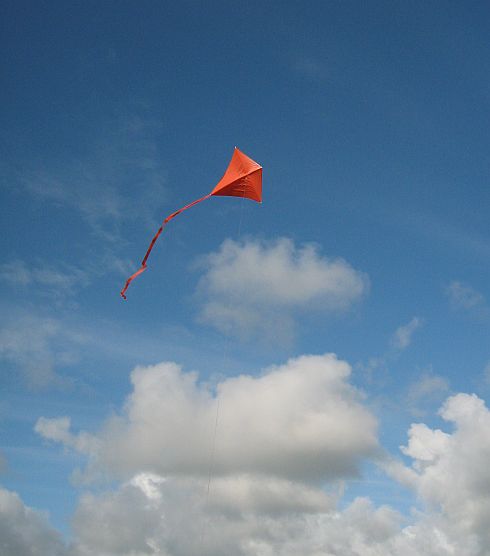
I hope you enjoyed learning how to build a Diamond kite. There's ours in the photo above, flying around on a perfect day for it.
With plenty of wind, this kite will waggle from side to side, so make sure all the tip-tapes are pressed down firmly and secure. I had one let go once, which brought the kite down suddenly. With some spare tape I had handy, the sail tip was soon fixed and the Diamond waggled straight back up to full flying height.That's it, you're ready to fly. Take the kite out whenever you can see leaves moving in the trees or bushes. If it won't stay up, try letting out plenty of line and then towing it up at jogging pace. It might find enough wind higher up.
No comments :
Post a Comment